7 Steps to Install Vehicle Partitions & Cages in Police Vehicles
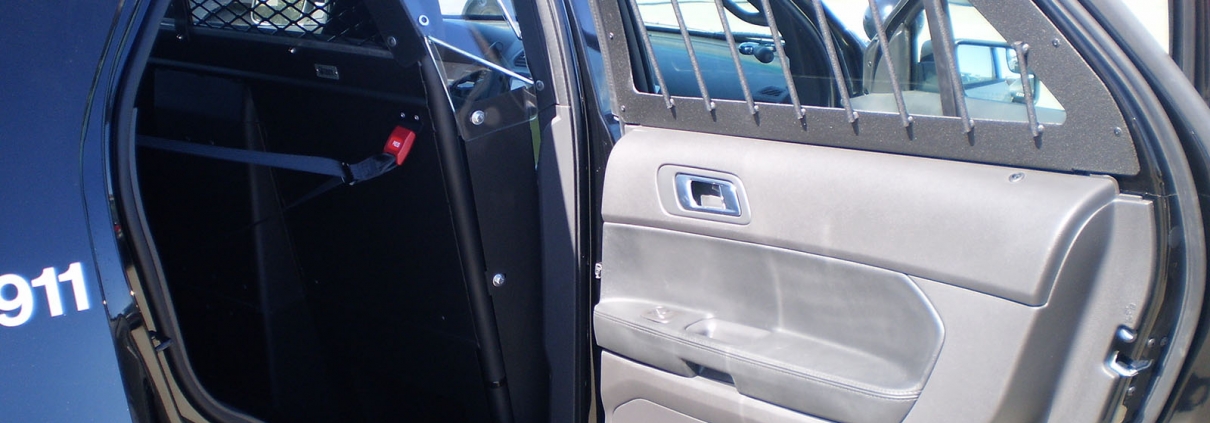
Cargo partitions and cages are important parts to every police vehicle. That’s why ensuring that you correctly install the partitions and cage is a necessary measure. While every manufacturer designs their parts in different ways, the process of installing a partition is largely universal. Here are seven steps to installing vehicle partitions and cages in police vehicles.
Move The Front Seats
To actually install the partition, you’re going to need room and space to do so. That’s why you need to move the driver and passenger seats out of the way. While removing them altogether is an option, you can simply just push the seats as far forward as you can.
Install The Floor Bracket
The floor bracket is especially important because it anchors the partition and serves as its foundation. You secure the bracket by attaching it to the front seats. You do this by threading the nut through the floor bracket and seat and tightening it.
Install The Pillar Brackets
Installing the pillar brackets will vary slightly depending on your vehicle. It’s a necessary step to help lock the partition in place. You must first remove the seat belt bracket. The method to do so can differ amongst vehicles so it’s best to read your car’s manual to discover the right instructions. Then, slide your pillar bracket slides into the exposed mounting point. To make sure it’s anchored in, use a socket wrench.
Prepare The Partition
Before you can put the partition inside of your vehicle, you have to assemble it. The main partition body is a singular piece that is already put together so your focus should only be on the edge guards. Attach the pair of edge guards to the main partition body by threading a bolt through each of the mounting points. The edge guards should be facing towards the vehicle’s front.
Place The Partition In The Vehicle
This step may require some extra help because of the heaviness of the partition. Slide the partition into the vehicle at an angle. Then, place it on top of the floor brackets.
Mount The Partition
Thread the bolt through the partition and the pillar bracket. You can then stick a nut on each bolt and tighten it ensuring that the partition is in place.
Install The Base
Lastly, install the base piece by placing it at the bottom of the partition. Although not too much of a hassle, this entire process is made more convenient if you are using one of Troy Products’ cargo partitions that are quick and easy to install.
Installing vehicle partitions and cages can be a difficult process without the right help. That’s why Troy Products is here for you. We make the job easier for agencies by designing custom products that emphasize convenience and reliability. From cargo partitions to mounting kits, Troy Products provides the best to public service professionals so that they can solely focus on completing their jobs. To find out more about our products and services, give us a call at (800) 700-8769.


